It is possible to transfer/load/copy photos from your Mac to your Philips Digital Photoframe. Please, before starting make sure your Mac has OS X or above.
How to transfer files from a Mac to Philips Photoframe?
Published on 24 June 2026
1. Use the supplied USB cable to connect the photo frame to Mac
Use the supplied power cord to connect to DC power, and you can turn on photo frame before or after the USB cable connected.
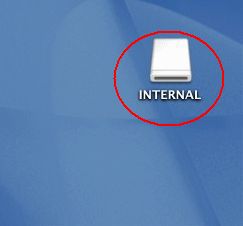
2. After a few seconds, the photo frame will pop up as 'INTERNAL'
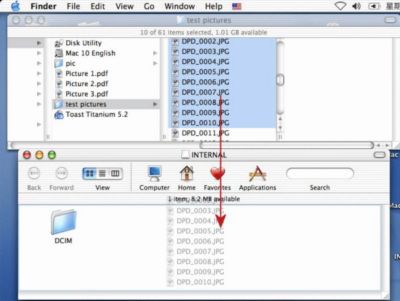
4. Select the photos you want to transfer
E.g. some photos under the folder /test pictures. Note: Check if enough free space of photo frame internal memory.
5. Drag photos to the root folder of 'INTERNAL'
Note: Must drag photos to the root folder. Otherwise, photo frame will not compress and load any photo from any other folder.
6. Make sure photo frame is properly powered
Do not disconnect the USB cable during photo transferring.
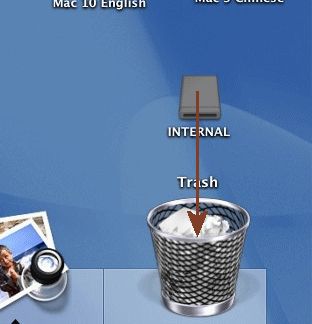
7. After all photos transferred, drag 'INTERNAL' to the Trash
Note: Must drag the photo frame to Trash before disconnecting the USB cable. Otherwise, the photo frame might be malfunctioned.
10. Now you can display photos by the photo frame
Note: Do not use a Mac to rename any photo and folder name under /DCIM/100FRAME. Otherwise photo frame will not display any renamed photo. Note: One photo could be compressed to less than 150KB. Check free space of photo frame internal memory again to store more photos.